
Last updated November 16, 2026
 Wrought iron
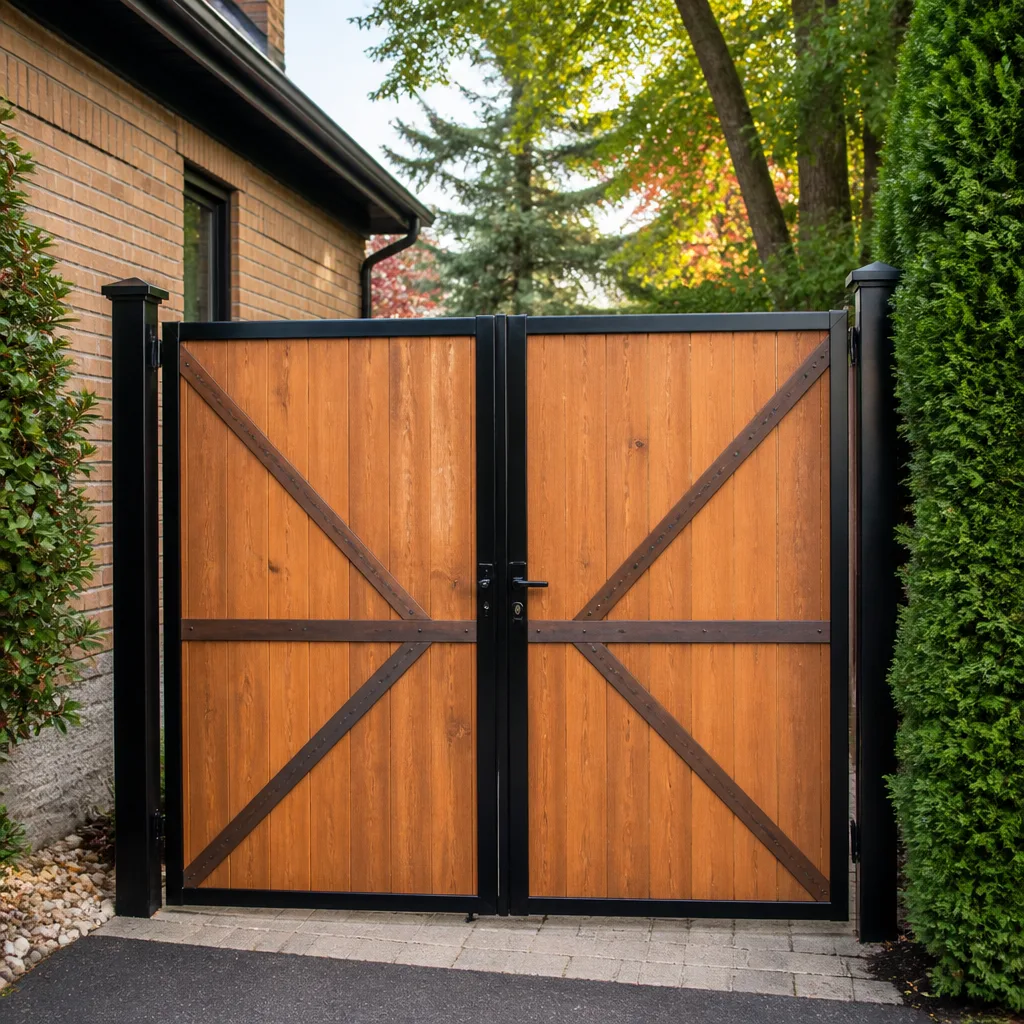 Wood & steel frame
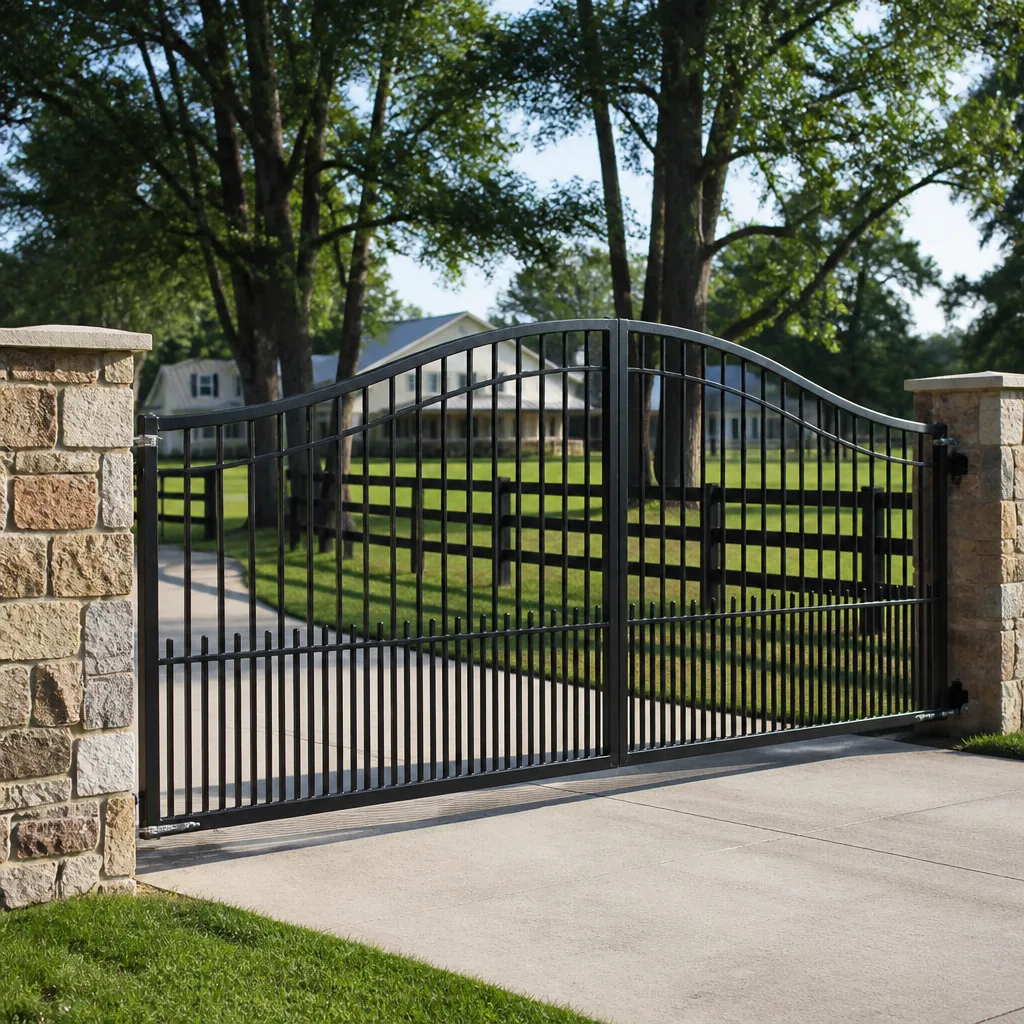 Farm & ranch
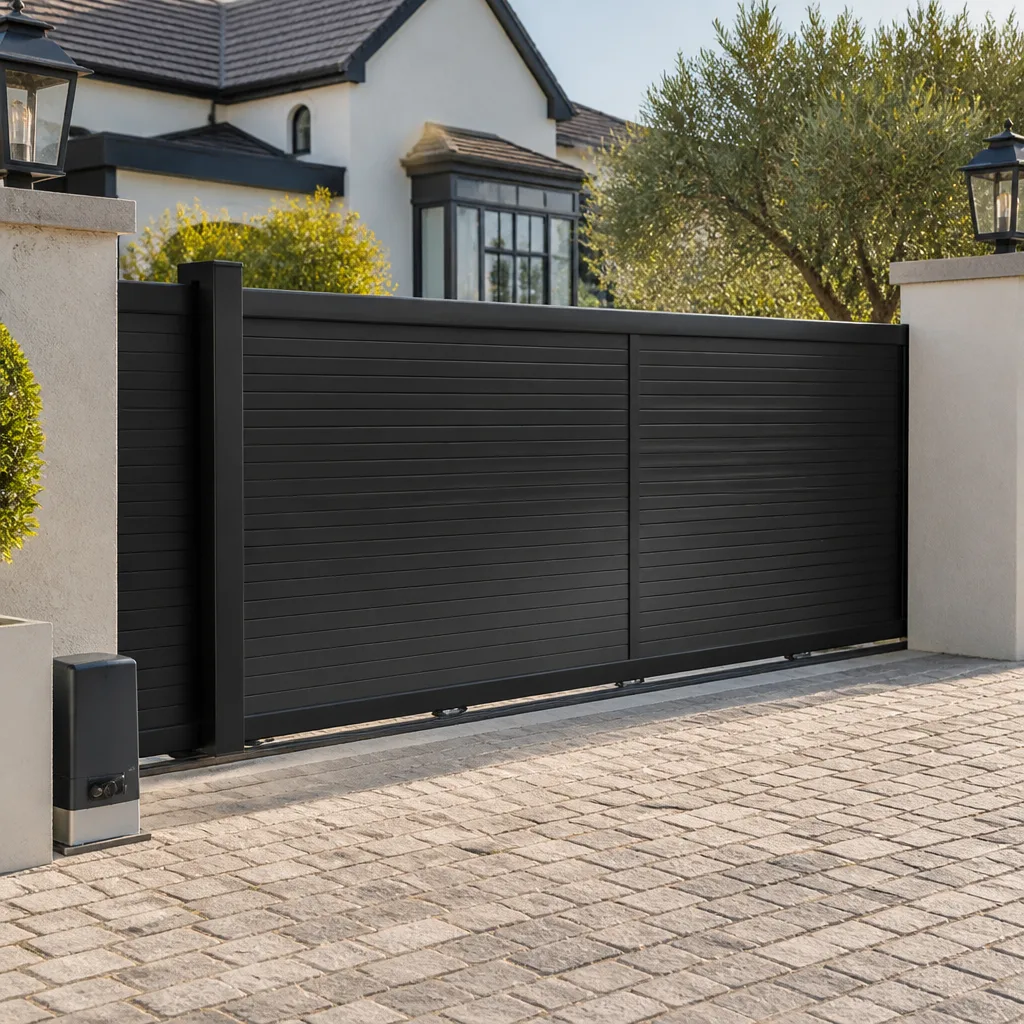 Sliding driveway gates
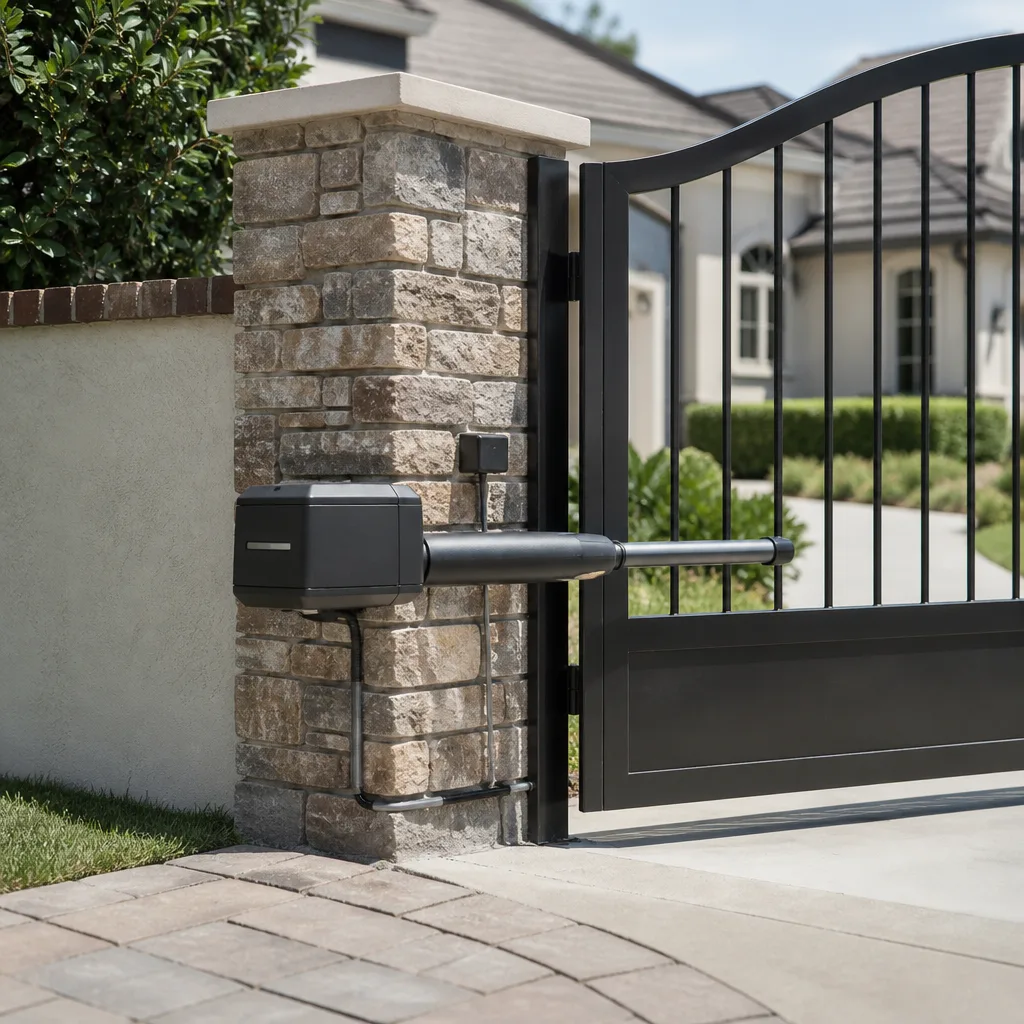 LiftMaster operators
Free on-site gate assessment - hinges, posts, and your LiftMaster or Nice gate operator checked before anything is quoted
The assessment is free and the quote is the invoice.
Get your free estimateGate Repair Maintenance Checklist for Salinas Homeowners
Most printable gate maintenance checklists online were written for Arizona or Florida climates. Following one of those in Salinas means spending your Saturday on tasks that don’t matter here while the things that actually break sit ignored. Salinas sits close enough to Monterey Bay that the air carries a steady marine influence, and that changes the failure sequence on a gate: hinges, seals, and exposed conduit go before anything else does. This guide is built around what we actually find on gates in Salinas, not a generic template. You’ll get the six checks that prevent most service calls, a realistic task calendar, and the lubrication and sensor testing details most lists skip.
Quick Answer
The six checks that prevent most gate service calls in Salinas are: hinge inspection and lubrication, operator housing seal inspection, control board and conduit corrosion checks, post and wheel inspection after the wet season, safety sensor and reversal testing, and limit switch verification. A monthly check takes about 10 minutes, a quarterly check about 30, and the annual deep inspection about 90. Skip the generic lists built for dry climates. Focus on the six checks below and you’ll stay ahead of the failures we see most in Salinas.
Styles & brands we work with
- Wrought iron
- Wood & steel frame
- Farm & ranch
- Sliding driveway gates
- LiftMaster operators
Table of Contents
- Why Generic Checklists Fail in Salinas
- The Six Checks That Prevent Most Service Calls
- Salt Air: The Component Sequence Nobody Warns You About
- Post-and-Wheel Gate Checks After the Wet Season
- Lubrication Schedule by Component
- How to Test Safety Sensors and Limit Switches
- Monthly, Quarterly, and Annual Task Calendar
- Common Mistakes to Avoid
Why Generic Checklists Fail in Salinas
Gate hardware fails in a sequence, not all at once. Which part goes first depends on the environment. In a dry inland climate, UV and heat do the damage: rubber seals crack, plastic housings go brittle, and control boards overheat. Those are real problems, but they’re not the ones we see first in Salinas.
Salinas sits in a valley with marine air moving in through the day. The result for gate hardware is mild temperature swings, high overnight humidity, and airborne moisture that settles on metal and stays there. That moisture does its best work on the components with the least protection: hinge pins, seal gaps on operator housings, and the exposed portions of conduit runs. Meanwhile, a checklist copied from a Phoenix or Miami source has you cleaning tracks and checking for sun damage, which are lower priority here.
You need a checklist built for the local pattern. That’s why we put this guide together. As Gate Repair Salinas, we work on gates here every week, and the checklist below reflects the actual failure order we encounter across residential and commercial systems, from a small Ghost Controls swing operator on a side yard to a heavy slide gate on a commercial driveway.
One more local factor: rain. Salinas gets a defined wet season, and after it the ground moves. Clay-heavy soil swells with moisture and settles as it dries. On a post-and-wheel gate, that movement is enough to throw alignment off, load the wrong side of the carriage, or bind a slider against its track. The soil check in this guide is not a generic item, it’s a local one, and skipping it is the single most common reason a gate “suddenly” stops working in spring.
The Six Checks That Prevent Most Service Calls
These six checks cover the failures we see most often. Do them in this order. Each one takes a few minutes and catches the early signs before they turn into a full breakdown.
- Hinges and pivots. Look for rust bloom at the hinge pin and coating loss on the leaf. A dry hinge loads the operator motor, and a loaded motor eventually burns a control board. Lubricate and inspect every hinge. If the zinc coating on a hinge is gone, plan to replace that hinge rather than lubricate it again.
- Operator housing seals. Check the gasket around the housing cover and the seal at the wire entry point. Anywhere water can sit, salt in the air will accelerate corrosion. A seal that looks fine from the outside may still be seated wrong, so look at the mating edge.
- Control board and conduit corrosion. Open the operator cover (power off at the breaker first) and look for white or green residue on the board and on the terminals. Trace the conduit run and look at the fittings. This is where salt air does its quietest damage.
- Posts, wheels, and alignment. Push the gate through its full travel by hand with the operator disengaged. It should move smoothly. Any binding, wobble, or grinding points to a post, wheel, or track issue, not an operator issue.
- Safety sensors and reversal. Test both the photo-eye pair and the reversal function on the operator. A sensor that’s dusty or misaligned will still power the gate but won’t stop it for a child or a car, and that’s the one failure you can’t afford to ignore.
- Limit switches. Confirm the gate stops in the right position at both ends of travel. A drifting limit switch strains the hardware and, on a slide gate, can push the gate into the end stop hard enough to damage the operator.
If you handle those six checks regularly, you’ll catch most problems before they become service calls. The rest of this guide explains each one in detail and gives you a realistic schedule.
Salt Air: The Component Sequence Nobody Warns You About
Salt doesn’t damage gate hardware all at once. It damages it in a specific order, and knowing that order lets you spend your time on the right parts. Here’s the sequence we see, roughly in order of who goes first.
1. Hinge zinc coatings. Hinges are typically zinc-plated steel. That coating is sacrificial, meaning it corrodes before the base metal does. Once the coating is gone, the hinge pin is exposed and starts to bind. Check hinges monthly. If you see white or gray powder around a hinge, the coating is going.
2. Operator housing seals and gaskets. The seal around the housing cover and at the wire entry is the operator’s first line of defense. When it fails, moisture reaches the control board. In our experience, once the seal begins leaking, board corrosion follows. Check seals quarterly by looking at the mating edge for separation and running a finger along the gasket to feel for stiffness.
3. Exposed conduit and fittings. If any portion of the low-voltage wiring runs through exposed metal conduit, the fittings are corrosion points. Look for rust at the joints and white residue inside the fitting. Conduit that was installed without a drip loop at the operator end is especially vulnerable, because water follows the outside of the run straight into the housing. That’s a common install issue and worth having looked at.
4. Fasteners and brackets. Bolts and mounting brackets are usually lower grade steel than the hinges and often come last in the corrosion sequence. Still worth checking, especially on newer gates where galvanic corrosion between dissimilar metals is possible.
If your gate uses a Linear or BFT operator, the housing design affects how quickly moisture gets to the board. Linear units tend to trap condensation if a seal is compromised; BFT units with exposed terminal blocks are more vulnerable to corrosion at the terminals first. Knowing the brand tells us where to look first. That’s why brand-matched diagnosis matters on electric gate repair, and it’s why the checks in this guide are organized by brand as much as by component type.
Post-and-Wheel Gate Checks After the Wet Season
After the Salinas wet season, post-and-wheel gates need a soil movement check that has nothing to do with the operator. The sequence is straightforward and takes about 15 minutes.
- Disengage the operator and push the gate by hand through the full travel. Note any point where it binds or feels heavier.
- Look at the posts. A post that has moved out of plumb will show up as a canted wheel or an uneven gap between the gate and post. Set a level against the post face at the mounting point. A small lean can be normal on a heavy gate; a sudden new lean after the wet season is not.
- Inspect the wheels and the track or ground rail. If the gate is on a track, look for where the wheels contact the rail. Uneven wear means the gate is not rolling square.
- Check the track surface for lifted sections, gravel, or displacement. On a wheel-on-ground rail, soil movement underneath the rail is common and shows up as binding in a specific spot.
- Look at the operator mounting. If the post carrying the operator has moved, the operator and gate are out of alignment. That’s the source of many “the gate won’t close” calls we get after significant rain.
If the gate binds, don’t force it into operation. Running a bound gate on the operator puts the strain on the motor and gearbox instead of the gate, which is how a wheel problem becomes an operator problem. Have it looked at. That’s one of the situations where the right fix is cheaper than a temporary patch.
Lubrication Schedule by Component
Lubrication is the most over-generalized item on every checklist online. “Use grease” tells you nothing. Different components need different products, and using the wrong one can make the situation worse. Here’s what we recommend by component type.
- Hinge pins and pivots: a PTFE-based dry lubricant or a light white lithium grease. Avoid heavy grease on exposed hinges; it collects grit and turns into an abrasive paste.
- Wheel bearings: a multi-purpose wheel bearing grease. A dry or sealed bearing should not be over-greased. If the bearing feels rough when you spin the wheel by hand, replace it rather than lubricate it.
- Chain drives on slide gates: a chain-specific lubricant, not a general-purpose grease. Chain lube is designed to penetrate the rollers, which grease does not.
- Operator housing seals: a light application of silicone grease on the gasket mating surface. Do not use petroleum-based products on rubber seals; they degrade the rubber.
- Latch and strike: a dry lubricant or graphite. A latch that relies on grease collects grit and sticks.
- Exposed threaded hardware: a thin film of anti-seize or a light oil. Wipe off excess so it doesn’t attract grit.
A note on frequency: hinges monthly, wheels quarterly, chain every six months (more often on a heavily used commercial gate), seals quarterly, latch as needed. Lubrication is cheap and the consequence of skipping it is a motor that works harder every month. If you’re not sure what’s already on the hardware, clean the component first and start fresh so you know the product.
How to Test Safety Sensors and Limit Switches
You don’t need special tools to test the safety sensors or the limit switches. You do need to know what a passing test looks like.
Safety sensor test (photo-eye pair):
- Start the gate closing.
- Pass your hand or a piece of cardboard through the beam path while the gate is moving.
- The gate should reverse immediately. If it doesn’t reverse, the sensor is misaligned, dirty, or failed.
- If it doesn’t reverse, clean the lens on both sides with a soft cloth first, then retest. If it still doesn’t reverse, stop using the operator and call for service. This is the one failure you should not delay.
Reversal function test:
- Start the gate closing.
- Apply moderate resistance to the leading edge by hand. All modern operators have a reversal function, often adjustable by potentiometer on the control board.
- The gate should reverse. If it doesn’t, the reversal sensitivity is set wrong, or the operator has a fault. Don’t leave it.
Limit switch test:
- Run the gate to the fully open position and confirm it stops cleanly without straining against the end stop.
- Run it to the fully closed position and confirm the same.
- If the gate overshoots or stops short, the limit switch has drifted. That’s an adjustment, but a drifting limit switch can also signal a worn gearbox component, which is why we test it under power rather than just eyeballing the switch position.
On a Viking or DoorKing operator, the limit adjustment procedure is specific to the model. If your limit switch is drifting repeatedly, the adjustment is not the answer, something has worn.
Monthly, Quarterly, and Annual Task Calendar
A realistic schedule is the difference between a checklist you actually follow and one you read once and forget. Here’s what we recommend, with realistic time estimates.
Monthly (about 10 minutes)
- Lubricate hinge pins and pivots
- Inspect hinges for coating loss
- Test safety sensors and reversal function
- Look at the operator housing for water intrusion
Quarterly (about 30 minutes)
- Inspect operator housing seals and gaskets
- Open the operator cover and check the control board and terminals for corrosion
- Lubricate wheel bearings and inspect wheels
- Inspect the latch and strike and lubricate as needed
- Run the gate by hand through full travel and note any binding
Annually (about 90 minutes)
- Full post and alignment check, especially after the wet season
- Conduit and wiring inspection with the power off
- Limit switch adjustment check under power
- Operator mounting and bracket inspection
- Full lubrication of all components
- Battery backup check on the operator if it’s present
If you run a commercial gate, shorten all three intervals. A heavy slide gate on a busy access point can go through monthly wear in a week on a residential gate. Some of our commercial customers move to a quarterly full inspection rather than an annual one.
Common Mistakes to Avoid
- Following a checklist written for a dry climate. The generic lists online have you checking for sun damage and heat, but the components that fail first in Salinas are hinges, seals, and conduit. Spend your time on the local failure points instead.
- Ignoring post alignment after the wet season. Soil movement is subtle until a gate binds or a slider jumps its track. A 15-minute check in spring saves a motor replacement in summer.
- Over-greasing exposed hinges. Heavy grease collects grit and turns into an abrasive paste that wears the hinge faster than a dry hinge. Use the right lubricant and wipe off the excess.
- Skipping the safety sensor test because the gate “still works.” An operator that opens and closes without a reversal function is a hazard, not a functioning gate. Test the sensor monthly and don’t delay the fix.
- Ignoring the control board “because it looks fine.” Corrosion on a control board is usually invisible until it causes a fault. Look closely at the terminals and the board surface, and if you see white residue, have the board inspected.
- Forcing a bound gate. Running a bound gate on the operator pushes the strain into the motor and gearbox. Diagnose the binding first, then run the operator.
- Adjusting a limit switch that keeps drifting. One adjustment is normal; repeated adjustments mean a worn gearbox. Have it diagnosed before it costs a motor.
See the difference
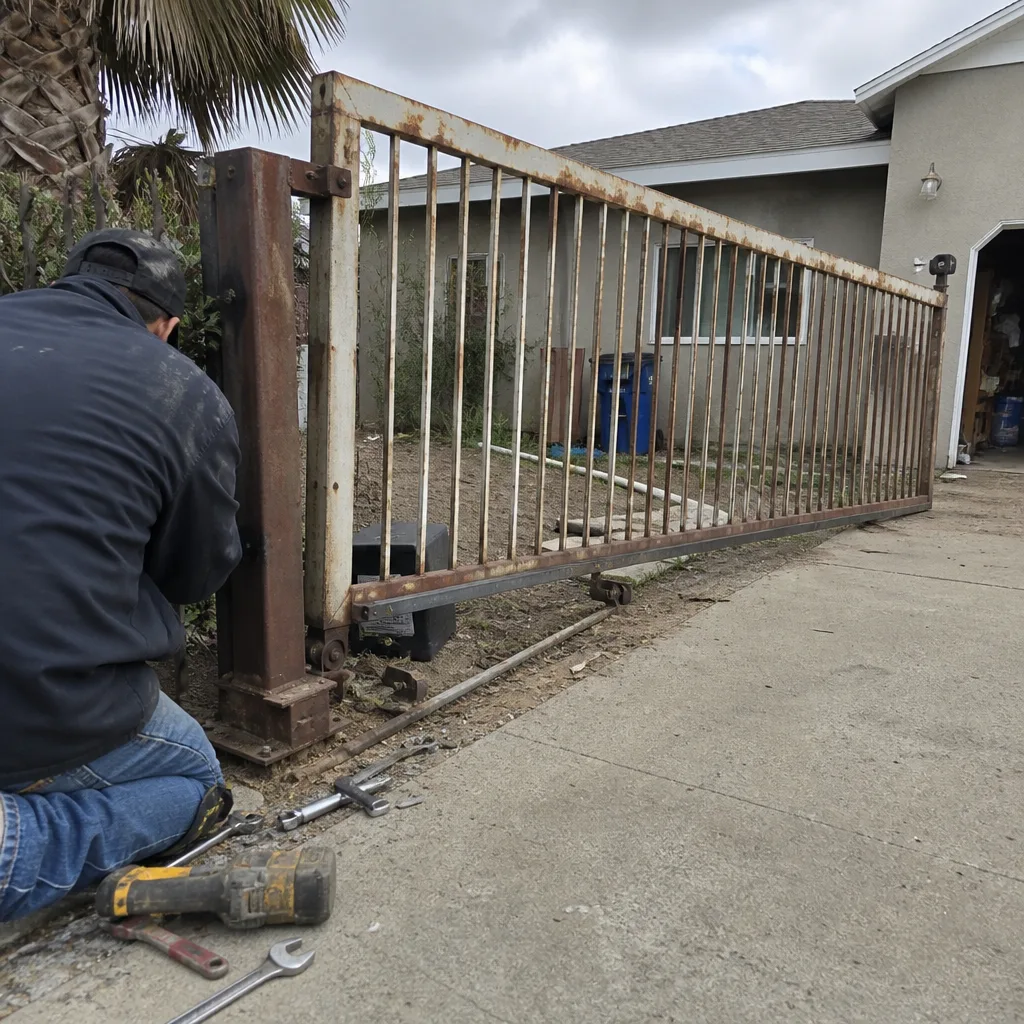 Before
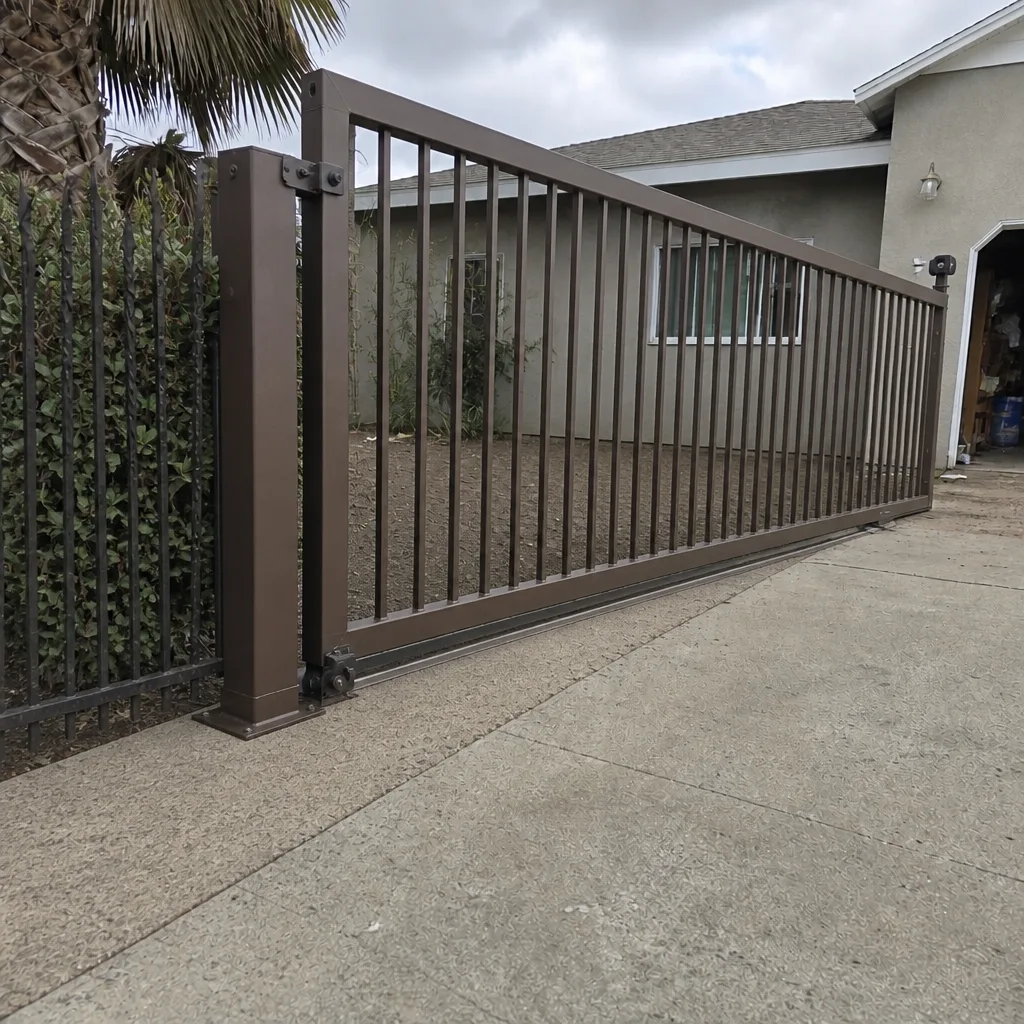 After
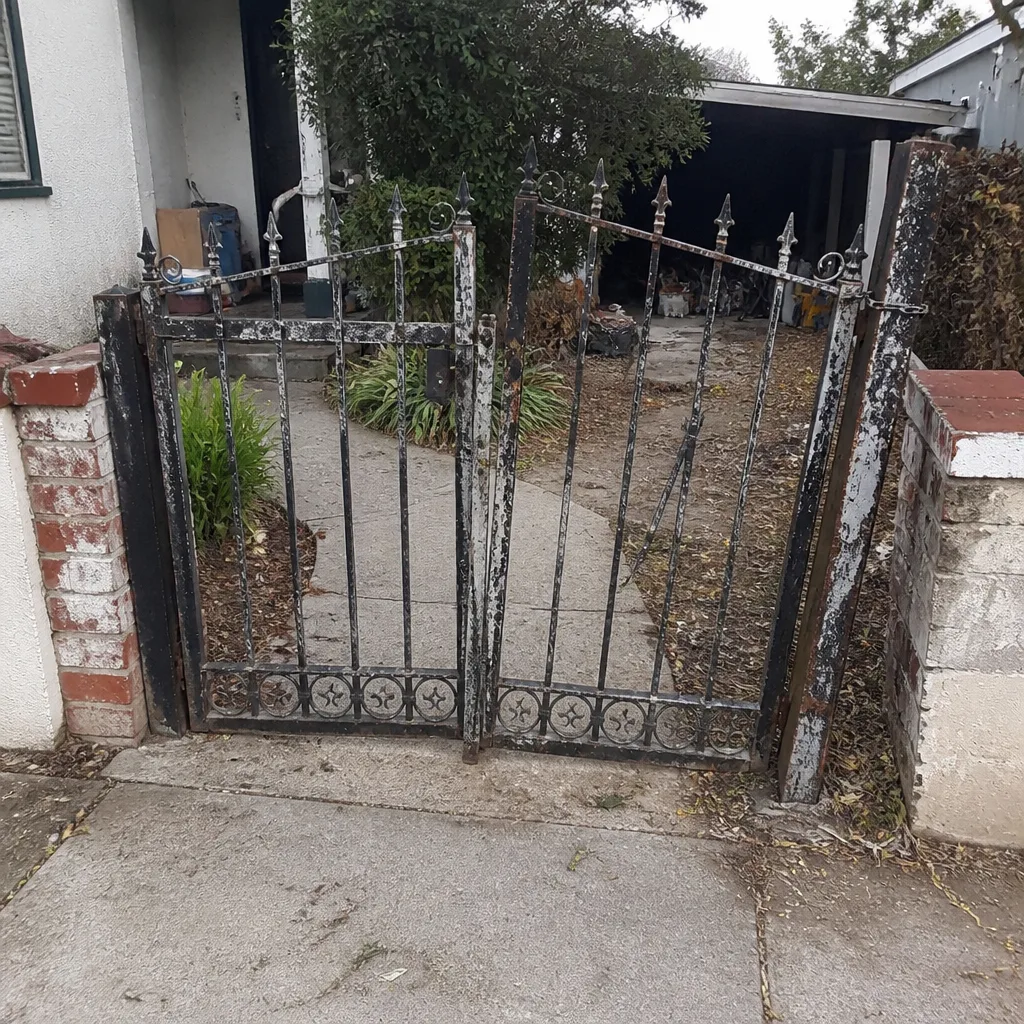 Before
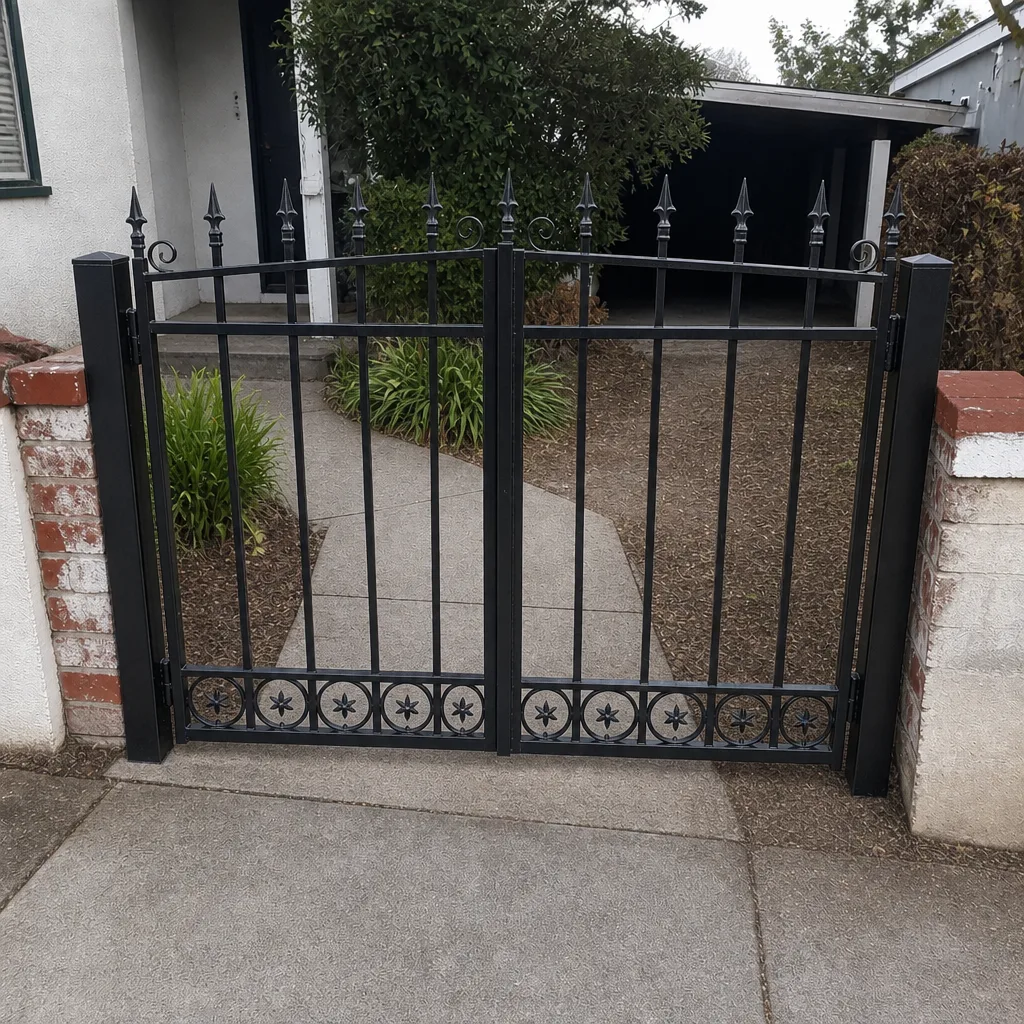 After
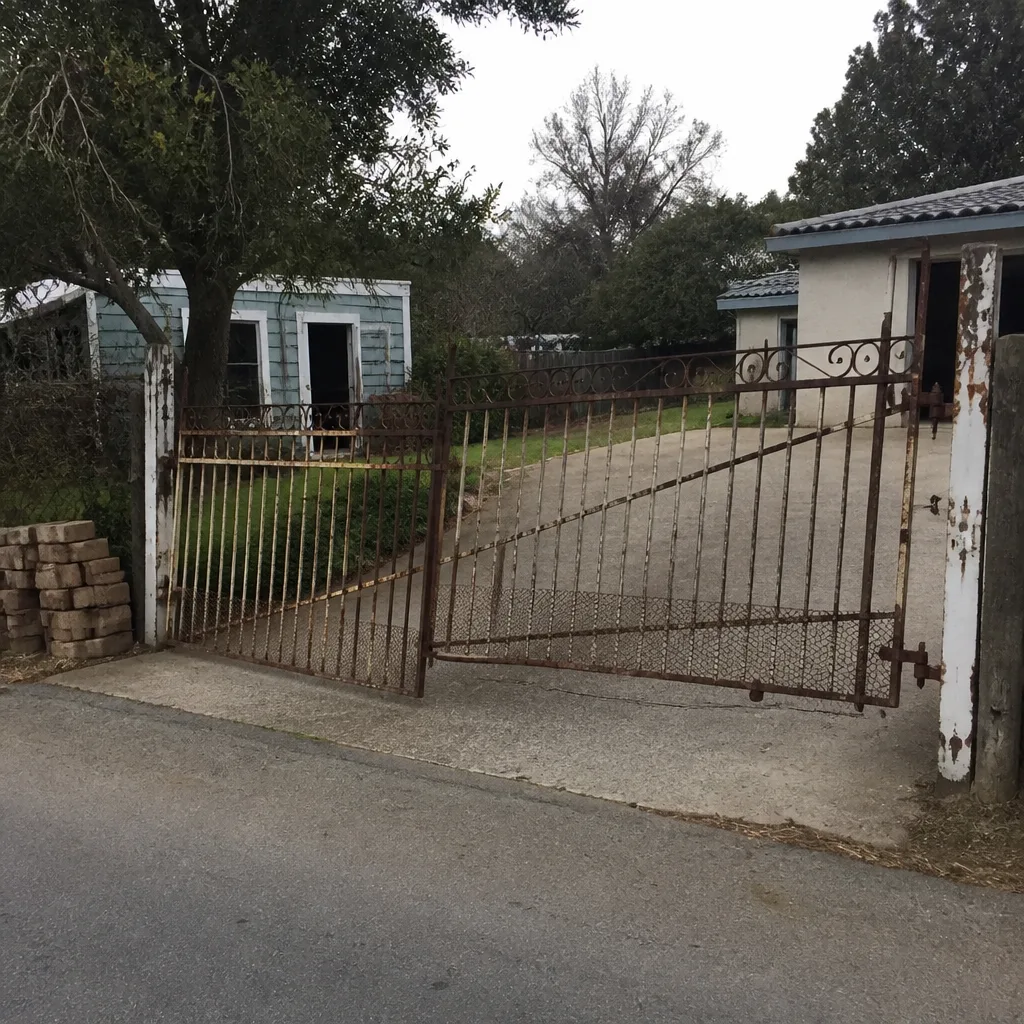 Before
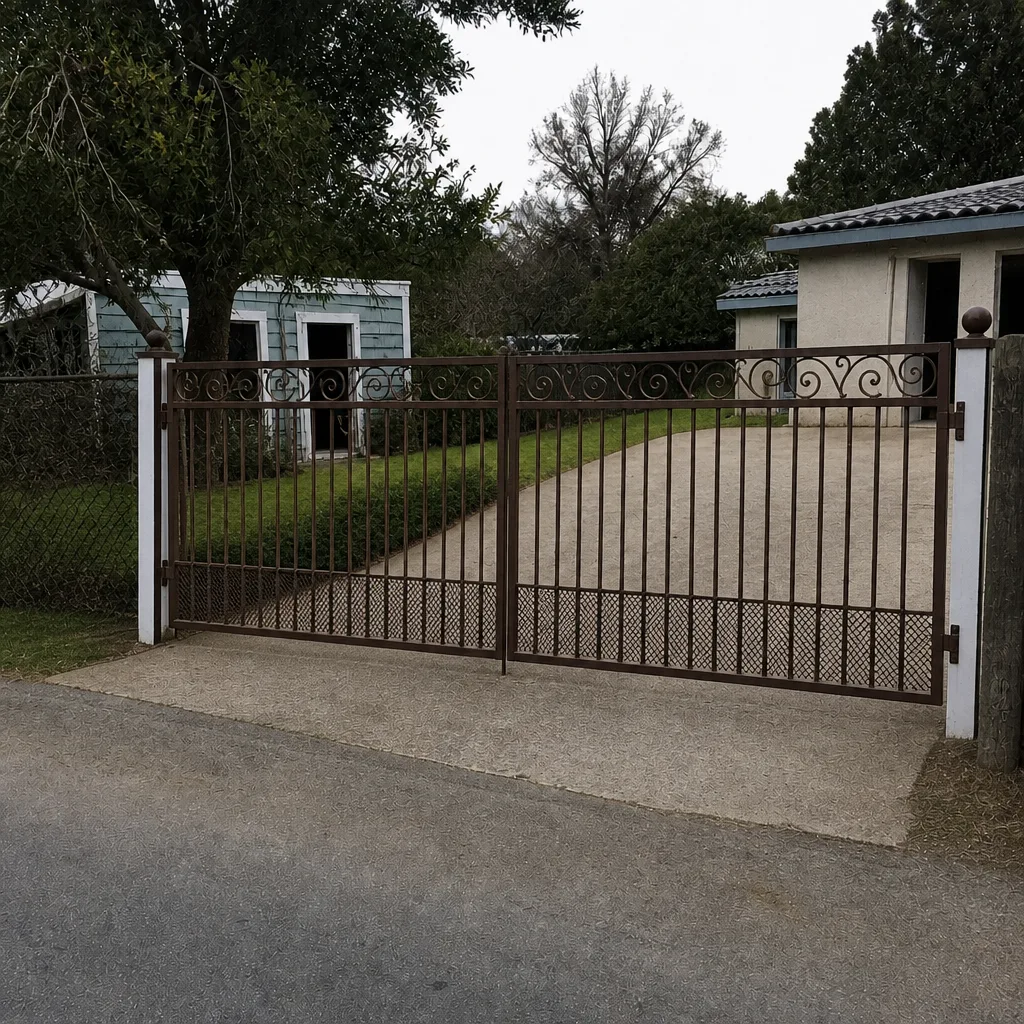 After
When to Call a Professional
Some checks in this guide are safe for a homeowner to do and are worth doing. Others should not be attempted. If the gate stops working entirely, the operator makes a grinding noise, the gate reverses for no reason, or a safety sensor keeps failing after cleaning, call us. The gate hardware is heavy, the operator wiring carries live voltage, and the wrong diagnosis costs more than a service call. Our gate repair and Salinas teams both cover this, including brand-specific work on Ghost Controls, Viking, Linear, BFT, LiftMaster, FAAC, DoorKing, Elite, and Mighty Mule systems. Our technicians have up to 15 years of experience, and every call goes to a gate-specific technician. Gate Repair Salinas offers free estimates in Salinas. Call (888) 704-3384. We answer 24/7. Fast dispatch from 7am to 7pm, Sunday through Friday.
Frequently Asked Questions
We recommend monthly lubrication and visual checks, quarterly seal and sensor checks, and a full annual inspection. Salinas’s marine-influenced climate makes hinges, seals, and control boards fail faster than in dry inland climates, so the schedule above matters more here than a generic one. If your gate is on a heavily used access point, shorten the intervals.
Same-day service is often possible for repair calls, and we dispatch from 7am to 7pm, Sunday through Friday. Call (888) 704-3384 for an exact quote, and estimates are free. We answer 24/7, and a call outside dispatch hours is booked into the next opening, Sunday through Friday, 7am to 7pm.
Yes. Salinas sits close enough to Monterey Bay that airborne moisture settles on gate hardware and accelerates corrosion on hinges, seals, and exposed conduit. The sequence of failure is what matters: hinges go first, then seals, then control boards and conduit. A checklist that accounts for that sequence prevents more service calls than one built for a dry climate.
A monthly check is about 10 minutes and covers hinges and safety sensors. A quarterly check is about 30 minutes and adds seals, control board inspection, wheel bearings, and a hand-push alignment check. The monthly check catches the fast-moving failures; the quarterly check catches the slower ones before they compound.
Cleaning the sensor lens and checking its alignment is a homeowner-safe task and worth doing first. If the sensor still doesn’t reverse the gate after cleaning and realignment, don’t leave it and don’t operate the gate. Call (888) 704-3384, estimates are free.
Permit requirements for a new gate or operator installation vary by project and property, so check with the city’s building department before starting installation work. Repair calls generally don’t require a permit, but a new installation or a significant rebuild might. If you’re planning a new install, we can talk through the project and quote it after a free measure.
The Bottom Line
The checklist that works in Salinas is not the one you’ll find on a template site. It’s built around the local failure order: hinges first, then seals, then control boards and conduit, with a post alignment check after the wet season. Do the six checks in this guide on a realistic monthly, quarterly, and annual schedule, use the right lubricant by component, and test your safety sensors every month. If a check reveals a problem you can’t fix safely, call a gate-specific technician. Gate Repair Salinas handles gate repair, electric gate repair, and gate installation on LiftMaster, FAAC, BFT, Linear, Viking, Ghost Controls, DoorKing, Elite, and Mighty Mule systems. Call (888) 704-3384 for a free estimate. We answer 24/7. Fast dispatch from 7am to 7pm, Sunday through Friday.
Written by the team at Gate Repair Salinas.